How Can You View a Development Site in WordPress When it Has a Different IP Address?
Building a website in WordPress for a client that already has an existing and active website, but who also wants to move to another hosting account is as easy as it gets. The advantage to building a site this way is that you already have a new hosting account, and you can use that account to build out the new site.
For many non-WordPress sites, you could simply show the site via the ip address. With Hostgator hosting, this in the URL gives you a testing site: IPaddress/~username You find your IP address by looking in your hosting cpanel, or the intro email you were sent by the hosting company. With hostgator, the ip address in the intro email is often different from that within your cpanel, and should that be the case, use the IP you see in the cpanel. It will be located at the bottom of the left sidebar in Hostgator.
This method doesn’t work for WordPress, however. You’ll still need the IP address, but in order for WordPress to display correctly, you need to edit your hosts file.
The process for doing so varies depending on your operating system, but we’re going to take a different and easier approach still.
How to Easily Edit Your Hosts File
First, open up Firefox. If you don’t use Firefox already, download it, and while your at it, feel free to delete second rate browsers like Internet Explorer and Safari.
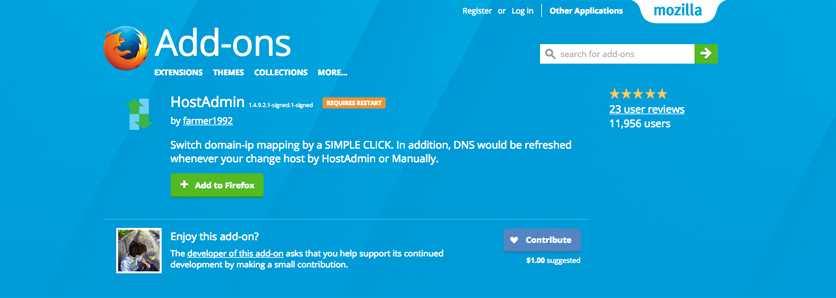
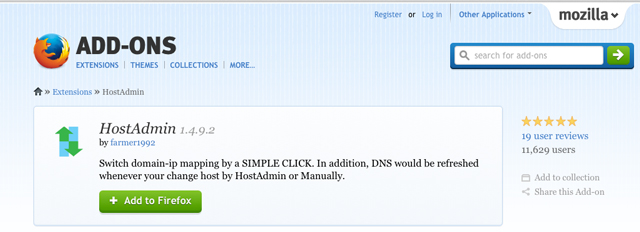
Next, we’re going to get the Host Admin Firefox AddOn which will let us edit the hosts file and also easily switch between the old and new versions of your site (this is awesome for web designers and developers).
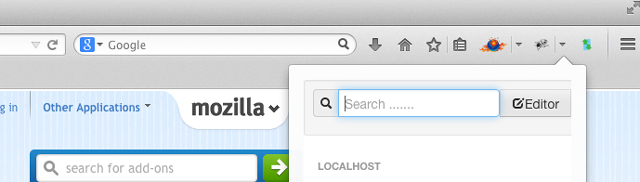
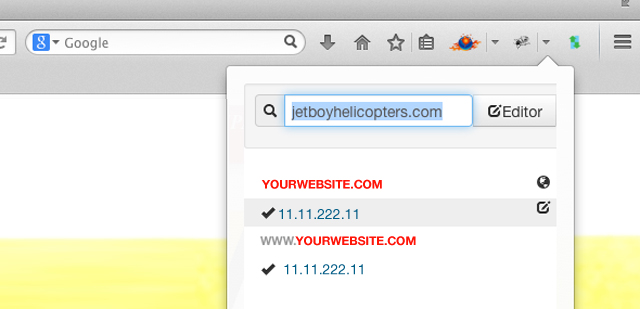
Then click the new icon at the top right of Firefox, a dropdown opens up, and then click editor.
Then type in the the ip address, and then your URL, both with the www. and without as follows.
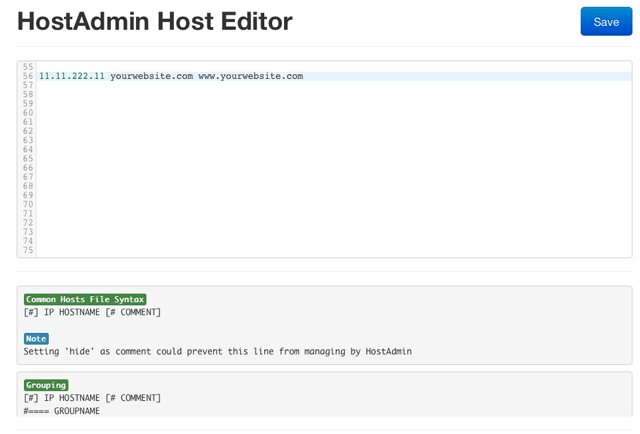
Click Save, navigate to your website, refresh your browser, and now you’ll see the new version of your website from your testing and development server.
If you get an error saying that you need permissions, check this link on how to allow permissions.
For a MAC, you’ll need to open up “Terminal” which is a program in Applications >> and under the Utilities folder. Paste the code in there. Hit enter. It will ask for your computer’s password. Enter that, and then head back over to the Hosts Admin Add On. You should now be able to save your edited hosts file.
For WINDOWS, click the Start Menu, then type “cmd” in the Run box. Then copy paste this command into the command prompt.
cacls %windir%/system32/drivers/etc/hosts /E /G Users:W
If you’re having issues, type “cmd” into the Run box, and then hit enter while holding down CTRL + SHIFT. A popup will ask if you want to run command prompt with elevated privileges; click YES. Then copy paste the above code to the command prompt. You should now be able to save your edited hosts file.
Now all you need to do is to type your URL in the web address bar, and you’ll see your new site. Click refresh if the old site is still showing.
A major bonus of this solution is that you can switch back and forth between the existing version and development version of your website by clicking the little check marks next to the the edited field. As shown below.
Questions? Feel free to ask.